Creating Bundles
Examples
Before continuing, you may find it helpful to look over our collection of simple example bundles.
Using Yeoman
-
Use Yeoman and generator-nodecg to generate the beginnings of your new bundle:
npm install --global yo generator-nodecg
cd bundles
mkdir my-first-bundle
cd my-first-bundle
yo nodecg
Answer the prompts one-by-one as they come up.
- If you wish to access the TypeScript boilerplate, just answer yes to the TypeScript prompt.
- If you wish to access the React boilerplate, first answer yes to the TypeScript prompt and then also answer yes to the React prompt (we currently have a TypeScript+React template but not a plain JavaScript+React template).
noteIf you created the bundle with typescript (plain typescript or react) you have to compile the bundle using
npm run buildinside themy-first-bundledirectory.
(This is likely your issue if you see something like:Error: my-first-bundle has a "nodecg.dashboardPanels" property in its package.json, but no "dashboard" folderwhen trying to start nodecg) -
If you generated your bundle with TypeScript, you can use the "dev" script to start NodeCG, automatically re-compile your code when it changes, and also automatically restart NodeCG when specifically server-side code changes (such as your extension):
# From the root of your new bundle's folder
npm run dev
Else, you can start NodeCG the old-fashioned way with
nodecg-cli:cd ../..
nodecg start -
Open the NodeCG Dashboard, which will be located at http://localhost:9090 by default. You should see a page like this:
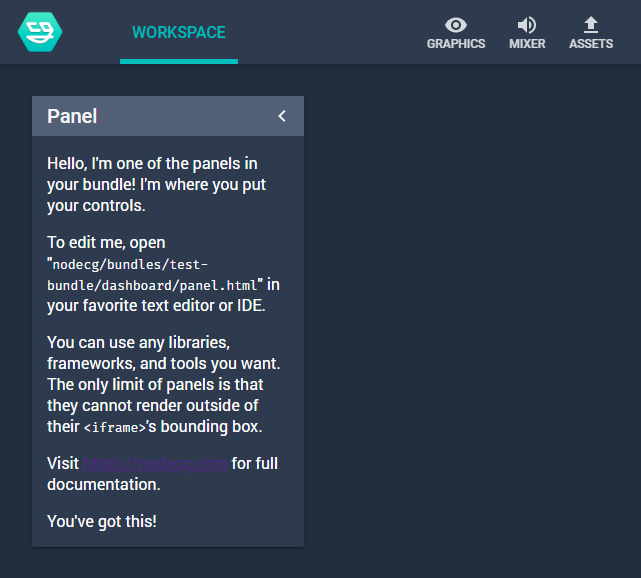
-
That's it! You can click the "Graphics" button in the top right to see a list of graphics in your installed bundles.
If you have more questions, want further guidance, or would just like to hang out with other NodeCG devs, join our Discord server!